Flying with camera gear can feel intimidating when you factor in airline rules, airport screenings, and the challenge of protecting delicate equipment. Many photographers feel uneasy before their trip because flying with gear raises concerns about security checks, handling, and potential damage. This guide simplifies the process, giving you clear steps to make your flight smooth, safe, and predictable.
Travel photography often depends on careful choices made long before boarding a flight. That’s why flying with gear requires planning for packing, protection, and workflow efficiency. When done properly, flying with camera gear can become just another routine part of your creative life rather than a source of stress.
Below are ten essential strategies to help you navigate airports and airlines with confidence while keeping your cameras, lenses, drones, and accessories fully protected.
Table of Contents
1. Choose the Right Carry-On Bag
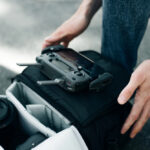
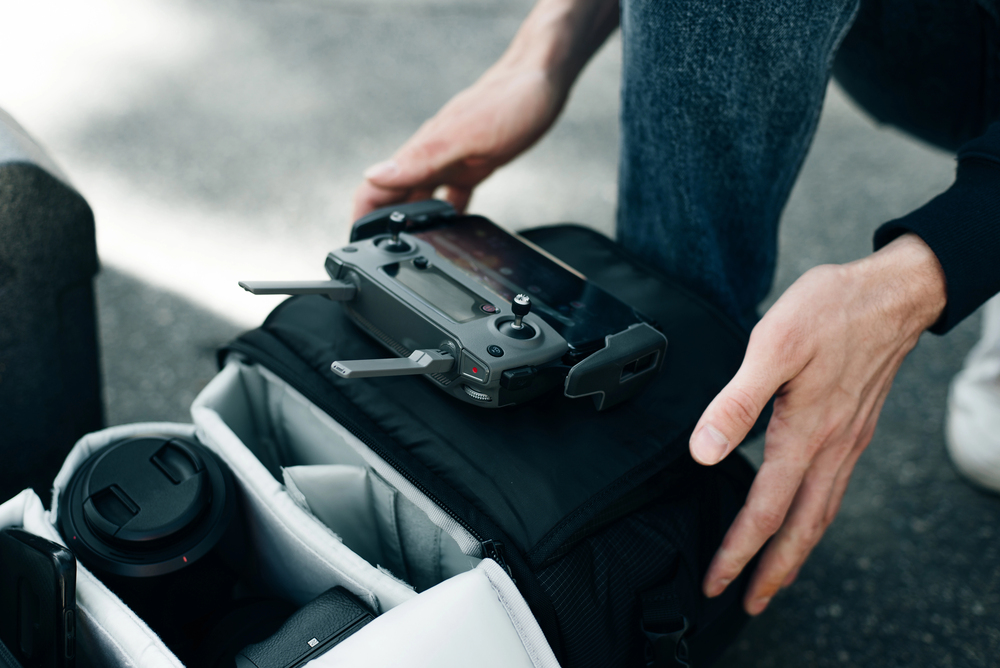
Selecting a reliable carry-on bag is the foundation of flying with camera gear. A well-designed camera backpack or roller allows you to keep everything organized, cushioned, and within easy reach. Look for customizable dividers, waterproof materials, and lockable zippers to keep your equipment secure.
Many airlines allow personal backpacks in addition to carry-on suitcases, and this works to your advantage. Flying with gear becomes easier when your camera bag qualifies as your personal item, ensuring your most valuable gear never leaves your sight.
2. Minimize What You Bring When Flying With Camera Gear
It can be tempting to pack every lens and accessory you own, but flying with camera gear improves dramatically when you simplify your kit. Packing lighter reduces the weight you must carry during long airport transfers and minimizes the risk of loss or damage.
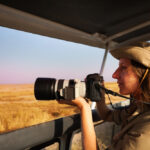
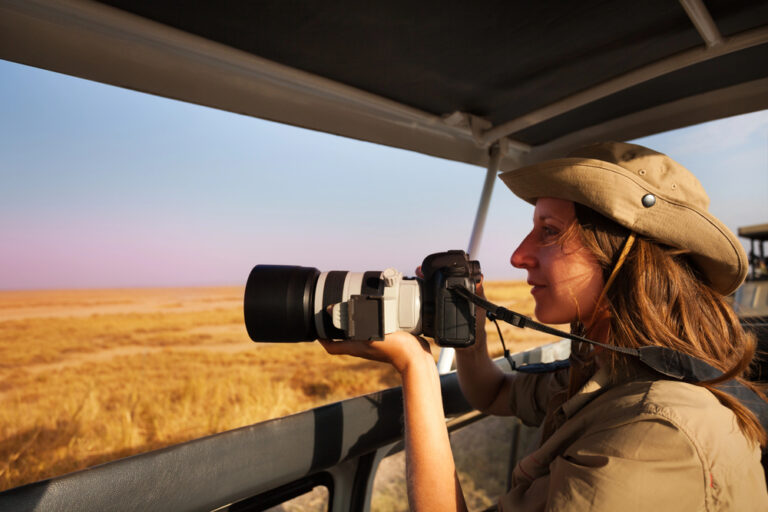
Choose versatile lenses, such as a 24-70mm or 35mm prime, depending on your destination. When flying with camera gear, travel with items you will actually use and leave redundant or fragile specialty tools at home unless the project requires them.
3. Follow TSA and Airline Rules
Airport security can be a stressful part of flying with gear, especially for photographers carrying multiple batteries and electronics. Lithium-ion batteries must always be stored in carry-on luggage, and their terminals should be protected from accidental contact.
Security officers may ask you to remove cameras and lenses for separate screening. When flying with camera gear, arrive early so you can follow instructions without rushing. Keeping cables and accessories neatly organized also speeds up the process and reduces the chance of misplaced items.
4. Protect Lenses and Cameras With Proper Padding
Proper protection is essential when flying with camera gear, even when everything stays in your carry-on. Sudden movements, overhead bin pressure, and crowding during boarding can all threaten delicate components. Well-padded dividers, lens wraps, and shock-absorbing inserts create a protective environment inside your bag.
If you carry a second camera body, wrap it separately for added security. Flying with camera gear becomes less risky when every piece of equipment has its own cushioned compartment.
5. Use Hard Cases for Checked Equipment
When you must check some items—tripods, stabilizers, light stands, or large drone cases—use a hard shell protective case. Flying with camera gear in checked baggage carries higher risk, but quality cases with reinforced corners and secure locks minimize damage.
Add tamper-evident ties, label your case with your contact details, and photograph the contents before closing it. If flying with camera gear requires checking anything valuable, documentation helps with insurance claims in rare cases of damage or loss.
6. Keep Your Gear Easily Accessible for Security Inspections
Security lines move fast, and you may be asked to remove specific items more than once. Flying with camera gear becomes smoother when your camera bodies, lenses, and batteries are packed toward the top of your bag.
Avoid burying small accessories deep inside crowded compartments. You want to avoid fumbling under pressure. Flying with camera gear is easier when your bag layout supports quick inspection and easy repacking afterward.
7. Confirm Insurance Coverage Before Flying With Camera Gear
Even the most careful travelers face unpredictable situations. That’s why flying with camera gear should always involve checking your insurance coverage. Some photographers purchase dedicated gear insurance, while others rely on travel insurance or homeowner’s insurance riders.
Confirm whether your policy covers theft, damage, or loss during air travel. Flying with camera gear feels more secure when you know you have financial protection to back up your equipment. Consider keeping a digital list of serial numbers for all items in your kit.
8. Pack Backup Solutions
Losing a memory card or encountering a corrupted file can ruin a full day of shooting. Having backups makes flying with camera gear far more reliable. Bring multiple SD cards, extra batteries, and a portable SSD to secure your footage.
Cloud backups can also help, especially during long travel days. Flying with camera gear should involve planning for redundancy so a technical issue never interrupts your creative work.
9. Protect Your Gear During the Flight
Once you board the plane, how you store your equipment matters. Flying with camera gear safely means keeping your camera bag under the seat in front of you whenever possible. Overhead bins may shift during takeoff and landing, causing items inside to tumble.
If your bag must go overhead, lay it flat and place heavier items directly underneath it to prevent movement. Flying with camera gear becomes riskier when bags are upright or poorly supported, so always secure your equipment before settling in.
10. Prepare Your Gear for Climate Changes After Your Flight
Many photographers discover that the biggest challenge of flying with camera gear occurs after landing. Rapid climate shifts can cause condensation to form when you move from a cold aircraft cabin into warm, humid air. This moisture can damage lenses and camera sensors.
To prevent this, keep your gear inside your bag for at least 20–30 minutes after landing. Flying with gear safely means letting equipment adjust gradually to new temperatures. Silica gel packs inside your bag can also help absorb excess moisture.
References
-
https://www.tsa.gov/travel/security-screening/whatcanibring/all